
Crafting a Beautiful Angel Ornament with Star Cut Outs: A Step-by-Step Guide
Welcome to Janet’s Craft Corner! Today, we’re diving into a delightful holiday project that will add a touch of handcrafted charm to your Christmas tree: the Angel Star Cut Out Ornament. This project is perfect for crafters of all ages, whether you’re painting with kids, crafting solo, or creating heartfelt gifts for loved ones. Let’s get started on this heavenly holiday craft!

Supplies You’ll Need
Before we begin, let’s gather all the supplies you’ll need for this project:
- Angel Star Cut-Out Ornament Wood Cutouts
- Paint Colors:
- Delta Ceramcoat Paints – Rosy Beige
- FolkArt Multi-Surface – Titanium White, Nutmeg, Moon Yellow, Light Lavender, Conch Shell, Look At Me Blue, Papaya Whip, Sunny Yellow, or any color of your choice for her dress
- Golden Metallic Paint
- Art Institute Precision Craft Glue
- Twine or ribbon of your choice to hang the ornament
With your supplies ready, let’s jump into the painting process!
Step 1: Preparing Your Workspace
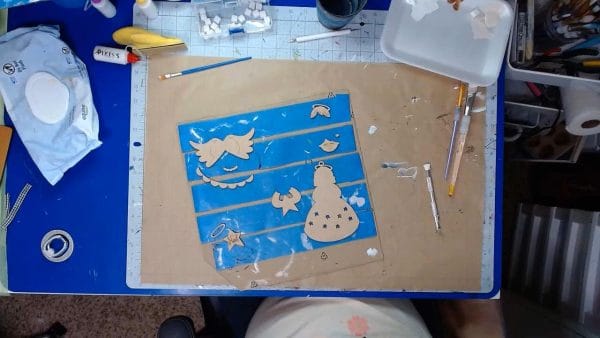
Before you start painting, it’s essential to set up a clean and organized workspace. Lay down some newspaper or a plastic sheet to protect your surfaces from paint spills. Make sure you have all your supplies within reach, including your paintbrushes, sponges, and water for rinsing brushes.
Step 2: Choosing Your Colors
For this project, I’ve chosen a lovely color palette that includes:
- White for the angel’s wings and highlights
- Gold for the star and accents
- Lavender for the angel’s skirt
- Soft beige for the skin tone
- Nutmeg for the hair
Feel free to customize the colors to match your holiday decor or personal preferences!
Step 3: Painting the Skirt
Let’s start with the lavender skirt. I prefer to use the sponge method for this part, as it allows for a smooth application without the need for extensive trimming around the stars. Here’s how to do it:
- Dip your sponge into the lavender paint, ensuring it’s not overloaded.
- Start applying the paint around the stars, working your way down to the bottom of the skirt.
- Apply a second coat if necessary, allowing the first coat to dry quickly due to the thin application.
This method helps to keep the edges clean and reduces the need for trimming later on.

Step 4: Painting the Body and Arms
Next, we’ll move on to the angel’s body and arms. For this, I’ll be using the soft beige paint:
- Using a brush, carefully paint the body and arms, ensuring to stay within the lines.
- For the arms, paint from the inside out to avoid any paint bleeding over the edges.
- Apply a second coat if needed, especially in areas where the paint appears thin.
Remember, it’s okay to have some imperfections; they add character to your handmade ornament!
Step 5: Adding Hair and Facial Features
Now it’s time to paint the angel’s hair. I’ve chosen a rich nutmeg color for this:
- Using a fine brush, carefully paint the hair, following the direction of the engraved lines.
- For the face, use the sponge method again to apply the soft beige paint, being careful around the eyebrows and mouth.
- If you accidentally paint over the eyebrows, you can clean it up later with an X-acto knife or toothpick.
Once the hair and face are painted, you can add details like the eyes and mouth with a fine brush or marker.

Step 6: Painting the Gold Accents
Next, we’ll add some gold accents to the ornament:
- Using the sponge method, apply the gold paint to the star and any other areas you want to highlight.
- Make sure to offload your sponge to avoid excess paint that could cover the engraved details.
- Apply a second coat if necessary for a more vibrant gold finish.
The gold will add a beautiful shimmer to your ornament, making it stand out on your tree!

Step 7: Adding the White Highlights
Finally, we’ll finish with the white highlights:
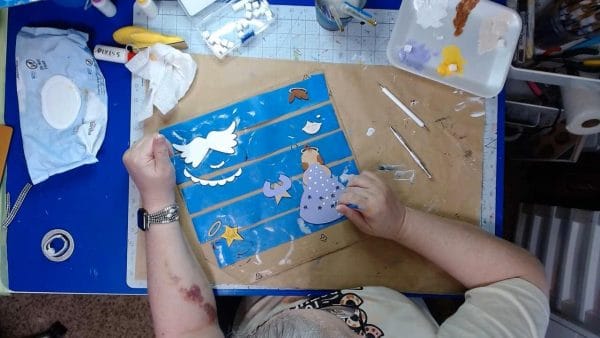
- Using a brush, carefully paint the wings and any lace details on the dress.
- For the dots on the dress, use the end of a small brush to create random polka dots.
- Allow the dots to dry completely before handling the ornament to avoid smudging.
These white highlights will give your ornament a lovely finished look!
Step 8: Assembling the Ornament
Once all the paint is dry, it’s time to assemble your ornament:
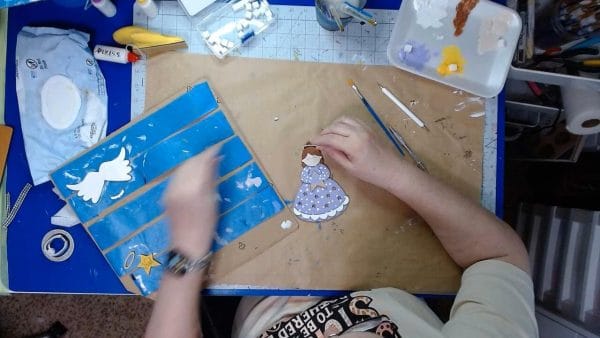
- Lay out all the painted pieces to ensure everything fits together nicely.
- Using the Art Institute Precision Craft Glue, carefully glue the pieces together, starting with the hair, then the face, and finally the wings.
- Attach a twine or ribbon to the top for hanging.
Make sure to let the glue dry completely before hanging your ornament on the tree!
Tips for a Successful Crafting Experience
Here are some additional tips to ensure your crafting experience is enjoyable and successful:
- Take your time with each step to avoid mistakes.
- Don’t rush the drying process; it’s essential for a clean finish.
- Experiment with colors and techniques to make your ornament unique.
- Involve family and friends for a fun crafting session!
Conclusion
And there you have it! Your very own Angel Star Cut Out Ornament, ready to grace your Christmas tree or be gifted to someone special. This project not only brings joy to your holiday decor but also creates lasting memories with loved ones. Don’t forget to share your creations with us on social media!
For more easy-to-make DIY craft kits, visit our shop at Janet’s Craft Corner. Happy crafting!
