
Crafting Vintage Mid-Century Ornaments: A Step-by-Step Guide
Welcome to Janet’s Craft Corner! Today, we’re diving into the delightful world of vintage mid-century ornaments. These charming decorations are perfect for adding a touch of retro flair to your Christmas tree. In this blog post, I’ll guide you through the process of creating your own unique ornaments, inspired by the iconic graphic style of mid-century holiday design. Whether you’re a seasoned crafter or a beginner, you’ll find that making these ornaments is not only easy but also incredibly fun!

Why Choose Vintage Mid-Century Ornaments?
Vintage mid-century ornaments are more than just decorations; they are a celebration of a unique design era that emphasizes bold colors, geometric shapes, and playful aesthetics. Here are a few reasons why you should consider crafting these ornaments:
- Personalization: You can choose your own colors and designs, making each ornament a reflection of your personal style.
- Creativity: The process allows for creative expression, as you can mix and match colors and patterns.
- Quality Time: Crafting these ornaments can be a fun activity to do with family and friends, creating lasting memories.
- Unique Decor: Stand out from the crowd with ornaments that are not only beautiful but also one-of-a-kind.
Supplies You’ll Need
Before we get started, let’s gather all the supplies you’ll need to create your vintage mid-century ornaments:
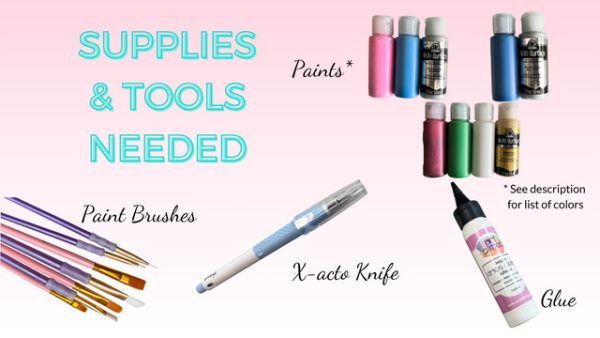
- Vintage Mid-Century Ornaments Wood Cutouts
- Paint Colors:
- FolkArt Multi-Surface – Titanium White
- Cardinal Red
- Bright Green
- Tickled Pink
- Look At Me Blue
- True Blue
- Metallic Gold
- Metallic Silver
- Art Institute Precision Craft Glue
Choosing Your Color Schemes
One of the most exciting aspects of crafting these ornaments is selecting your color schemes. Three distinct color combinations can be used:
- Classic Red, Green, and Gold: A timeless combination that evokes the spirit of Christmas.
- Bright Pink and Blue with Silver: A playful and vibrant scheme that adds a modern twist.
- Royal Blue and Silver: A sophisticated palette that brings elegance to your holiday decor.
Feel free to mix and match these colors or come up with your own unique combinations! The beauty of these ornaments is that they can be customized to fit your personal style.
Step-by-Step Guide to Crafting Your Ornaments
Now that you have your supplies and color schemes ready, let’s get started on crafting your vintage mid-century ornaments!
1. Preparing Your Workspace
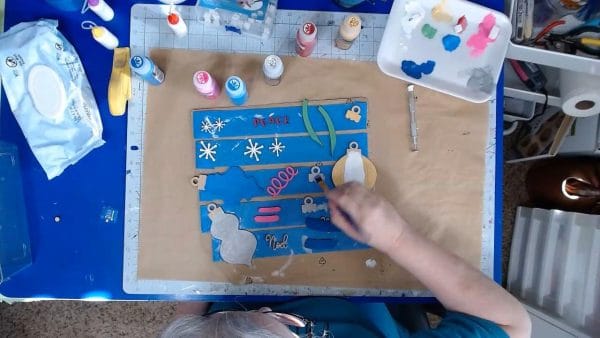
Before you begin painting, it’s essential to set up a clean and organized workspace. Lay down some newspaper or a craft mat to protect your surfaces from paint spills. Make sure you have all your supplies within reach.
2. Adding Color Schemes
Here’s a breakdown of how to apply the colors for each scheme:
- For the Red, Green, and Gold Scheme:
- Paint the main body of the ornament in white
- Add green accents, such as stripes.
- Add red letters down the center
- Finish with gold details on the edges and as a top cap.
- For the Pink and Blue with Silver Scheme:
- Use blue for the main body.
- Apply bright pink and finish with silver details.
- For the Royal Blue and Silver Scheme:
- Paint the ornament in silver.
- Add royal blue accents and details for a sophisticated look.
4. Trimming and Detailing
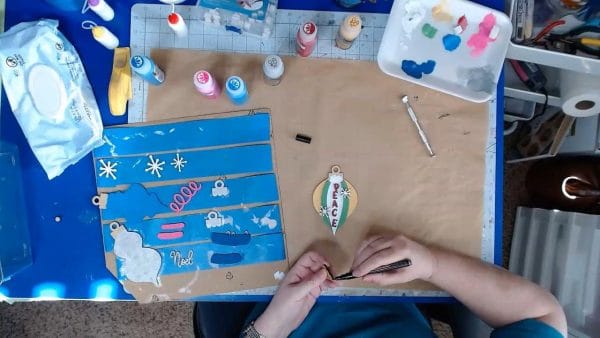
After painting, it’s time to add the finishing touches. Trimming is essential for achieving a polished look:
- Use a fine-tipped marker or a small brush with black paint to touch up the edges.
- Be careful to keep your hands clean to avoid smudging the paint.
- Take your time to ensure that all edges are neat and tidy.
5. Assembling Your Ornaments
Once your ornaments are painted and trimmed, it’s time to assemble them. Here’s how:
- Lay out the pieces to see how they fit together.
- Use Art Institute Precision Craft Glue to adhere the pieces together.
- Hold the pieces in place for a few seconds to allow the glue to set.
Join the Ornament Club!
If you love crafting these vintage mid-century ornaments, consider joining our Ornament Club. Starting July 15th, you can sign up to receive exclusive ornament kits each month, complete with paints and embellishments. Here’s what you can expect:
- Receive three unique ornaments each month, following a specific theme.
- Enjoy special pricing for charter members who sign up by the end of July.
- Access to instructional videos to help you create your ornaments.
Don’t miss out on this opportunity to expand your crafting skills and create beautiful decorations for your home!
Final Thoughts
Crafting vintage mid-century ornaments is a wonderful way to express your creativity and add a personal touch to your holiday decor. With just a few supplies and some imagination, you can create stunning ornaments that will be cherished for years to come. I hope you enjoyed this guide and feel inspired to start your own crafting journey!
For more crafting ideas and supplies, visit our shop and check out our blog post for additional resources. Happy crafting!
